Showing posts with label Unit 1 Technical Studies. Show all posts

Monday, 5 November 2012

My Final Outcome Evaluation

For my idea I got my inspiration from Manray,  Laszlo Moholy-Nagy, Michael Mackenzie and also an unknown photographer who was experimenting with photograms.


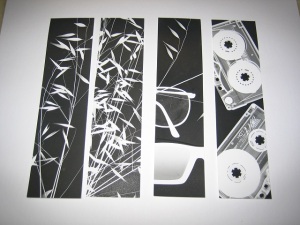
I am pleased with my final prints because I feel that I have experimented with different techniques for my photograms, E.g. layers, reversals, double exposures, movement. When experimenting with these different techniques I had some difficulty with double exposures and movement because I had try out different timings to find the best outcome. Throughout the project I fully enjoyed experimenting with different techniques and then developing them further when focusing on my final outcome.
 
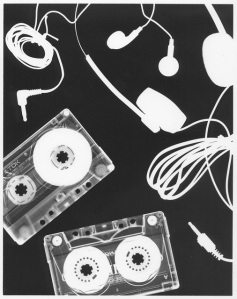
To link my photograms to the theme of 'everyday' I focused on the subject of music because it is part of many peoples everyday lives. To link my photograms to my idea of music I experimented with different objects like headphones, a CD case and my phone. I also the Incorporated text into my photograms and this text was the definition of 'music' and 'headphones'.

I feel that if I could go back and had a bit more time I would of explored more into shutter speed and motion blur because this was my original idea but my film did not develop correctly.

Overall in the whole product I research/looked at Justin Quinell, Roni Horn, Man Ray, Laszlo Moholy-Nagy, Bjork Vespertine Album Cover Photography by Inez & Vinoodh, Luke West, Erik Kerstenbeck, Matt Gyuricza, Jon Van Schaik, Bob Garas, Francessca Yorke, Gert Lavsen, Michael Mackenzie ad an unknown photographer.

Out of the Photographers that I looked at Erik Kerstenbeck, Man ray and Laszlo Moholy-Nagy all inspired me the most. Kerstenbeck inspired me because I really liked his motion blur photography because he used the perfect shutter speeds so that there was the right amount of blur from the moving object and so that there was a lot of detail in the background. I also really like how he captured light from moving objects E.g Buses and cars.   


I was also inspired alot by Man Ray and Laszlo Moholy-Nagy because I used different techniques from there work to make my final photogram outcomes look much better. I used techniques such as double exposure and adding different layers of objects to make my final photograms look much better.
 
Overall I really liked this first project focusing on 'Everyday' because I am starting to learn lots of different techniques and terminology which will help me throughout the course. I also really enjoyed trying to develop my ideas and enjoyed experimenting with different techniques that different photographers use.   
 

Tuesday, 23 October 2012

Photogram Ideas.

For my final piece I have to chosen to experiment with photograms and develop my previous photograms by experimenting with different materials, objects and techniques.
For my ideas for these photogram(s), my topic will be music. I chose the topic of music because it is part of many peoples everyday life.

Source 
Firstly I am going to experiment with different objects, arrangements and exposure times. I really like the idea of doing a series of photograms, maybe that could connect together and/or adding text to my photograms using tracing paper.


Source 

Source 

Thursday, 18 October 2012

Motion Blur

I feel that this could be a good idea for my final outcome. When testing out taking these pictures I will need to focus on and experiment with different shutter speeds and appeture settings to get the right lighting.

Erik Kerstenbeck

Erik Kerstenbeck

Jon Van Schaik
Bob Garas 


MoodBoard Ideas


6. Bob Garas 


Monday, 15 October 2012

Bjork Vespertine


                                     Bjork Vespertine Album Cover - Photography by Inez & Vinoodh

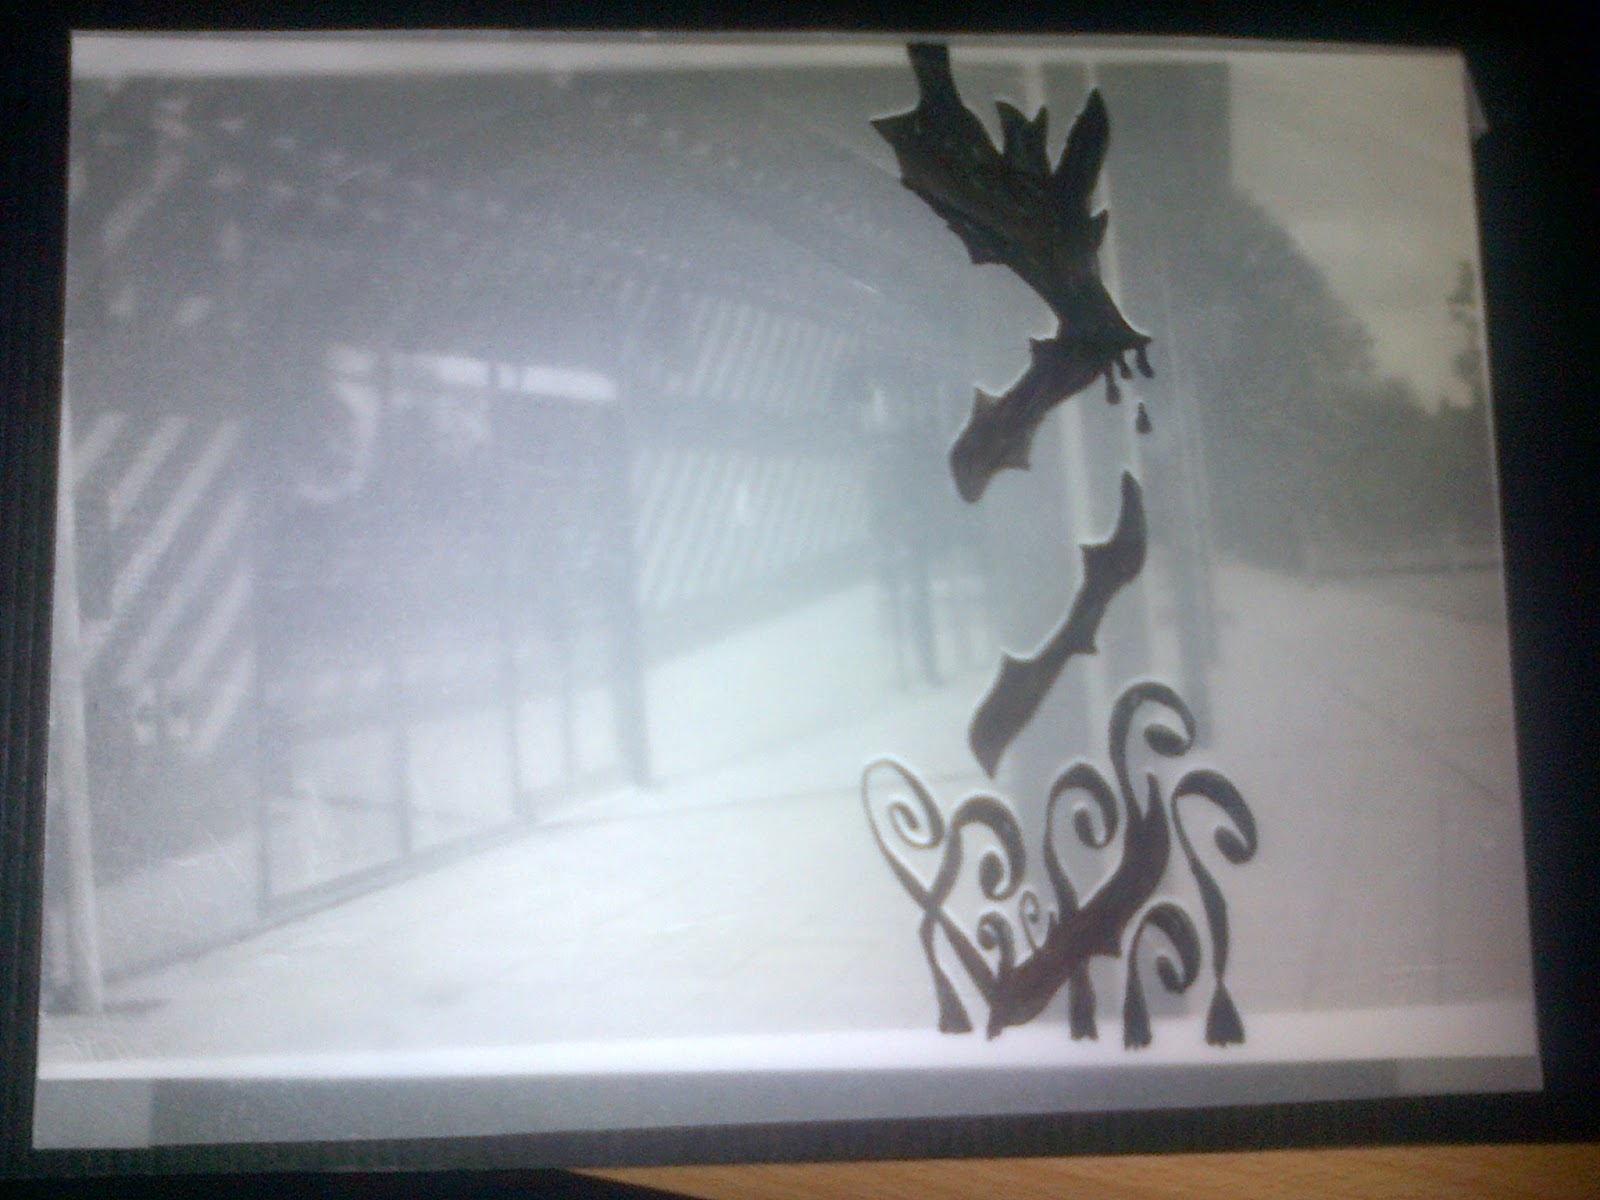
Firstly I drew a design onto tracing paper, I chose this vine design because I felt that it would be best to wrap around the wooden pillar.


I then put photo paper underneath the tracing paper design and lined it up with my negative underneath the enlarger so that my vine wrapped around the pillar. I exposed this on F:8 for 2seconds. I really like how it turned out but if I did it again I would develop my design so that I didn't colour the whole of the vine in and felt that i could of shaded and added more texture to the design.


Thursday, 11 October 2012

Photograms


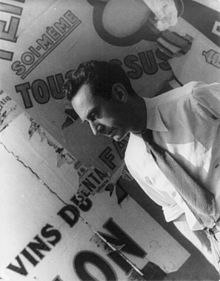
Man Ray August 27, 1890 – November 18, 1976 was an American modernist artist who spent most of his career in ParisFrance. He was a significant contributor to the Dada and Surrealist movements, although his ties to each were informal. He produced major works in a variety of media but considered himself a painter above all. He was best known in the art world for his avant-garde photography, and he was a renowned fashion and portrait photographer. Ray is also noted for his work with photograms, which he called "rayographs" in reference to himself.


'Gun with Alphabet Stencils' Rayograph - Man Ray 1924

In this photogram there is a gun and alphabet letters, when analysing this and researching this I found that this photgram has no particular meaning and is deliberately ambiguous. I felt that it was ambiguous because I felt that the gun did not relate to anything because of how it has no barrel and is cocked back, meaning it is not possible to fire it. I also felt that it has no meaning because the letters also don't spell out anything. I feel that there could have been either two light sources, light was diffused or the object could have been moved.


Photogram, Laszlo Moholy-Nagy


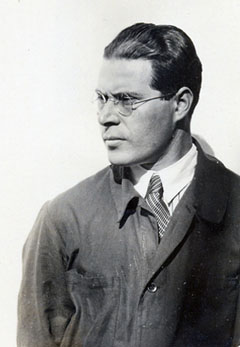
Laszlo Moholy-Nagy was a Hungarian painter and photographer as well as professor in the Bauhaus school. He was highly influenced by constructivism and a strong advocate of the integration of technology and industry into the arts. When analysing this photogram I felt that it was abstract and childlike and feel that Moholy-Nagy used objects like the paintbrush, guitar and a hand to show this. To cause the effect of the hand being see through I feel that he had his hand placed under the light for a short period of time. I like how he has done this, then moved his hand again and exposed it again under the light. I like the this photogram and the objects he has used because the way he has arranged them shows depth to the photo.     


My Photograms


Roni Horn & Shutter Speed

 
Roni Horn is an American visual artist and writer.  

This is a piece of Roni Horn's work, the picture is of a person with clown makeup on. Roni Horn uses a long shutter speed to capture movement of this person whilst they shake there head. Using a long shutter speed makes the picture have blur and gives the effect of movement. I feel that Roni Horn might of made the person look like a clown to make the pictures scary and creepy for some people because a having a phobia of clowns is very common.


Shutter speed (exposure time) is the length of time a camera's shutter is open. The slower your shutter speed means that you will have a longer exposure time.    


Slower shutter speeds are often selected to suggest movement in a still photograph of a moving subject. Fast shutter speeds can cause a moving object to appear frozen. E.g, a running person may be caught with both feet in the air looking like there is no movement because also everything around the person also looks still. However when a slower shutter speed is selected, a longer time passes from the moment the shutter opens till the moment it closes, and the person will be in movement whilst this is happening (causing blur to appear on your photograph) .


Friday, 28 September 2012

How to make a contact sheet

Step 1. Firstly we cut up our negatives into strips of 6.

Step 2. After cutting our negatives we then checked them on the light box.

Step 3. We then placed are negatives into a plastic negative bag.

Step 4. We then made a test sheet:

  • Set the aperture to f:8. 
  • Made sure there were no filters.
  • Placed photo paper underneath enlarger, with glossy side facing up.
  • Placed negatives on photo paper, glossy side up.
  • Then placed glass on top of the negatives and photo paper. 
  • Then exposed to the light in 1 second intervals using black paper to move across the negatives. 
  • We then developed and checked what timing was best.

Step 5. We then found out that our best exposure time was 3.5 seconds.

Step 6. Finally we then did the same process on a bigger piece of photo paper and exposed all of our negatives at F:8 for 3.5 seconds.


Thursday, 27 September 2012

Pinhole Reversals


My 2nd Reversal.


Changing the brightness and contrast. 


Changing the photo filter to blue. 


Changing the photo filter to red.


Changing the photo filter to sepia.

Pinhole Reversals


My Reversal.


Changing the brightness and contrast.


Changing the photo filter to blue.


Changing the photo filter to red.


Changing the photo filter to sepia.


Changing the hue saturation


Thursday, 20 September 2012

My Pinhole Photography

This is my first pinhole picture inside of the atrium, this picture had an exposure time of 30 seconds.
I really like this picture because the lines are crisp and sharp. 
This is my second pinhole picture that I took outside of the benches and trees, this had an exposure time of 20seconds.
This picture didn't turn out as well as the first one because I was pointing my pinhole camera in the direction of bright sunlight so this needed less exposure time.

Tuesday, 18 September 2012

Justin Quinell


Justin Quinell is the photographer who took this photo.
This is 6 month exposure taken of The Clifton Suspension Bridge in Bristol.
Quinell completed his photography degree in 1984 and since then has been doing pinhole photography for the past 20 years.
He was lives in Bristol and went on to work as head of photography at South Bristol College.
He holds lectures and workshops on pinhole photography.

The majority of his work is made for his personal enjoyment, but he also likes to inspire pinhole photography enthusiast.
I feel that the photo is interesting and as we are concentrating on pinhole photography in class, we thought it would be suitable to choose this.


This is another very contemporary piece by Quinell, I really liked it because it is different, random and strange.I found the picture strange because he has placed the camera in his mouth to show his mouths point of view like the inside is looking out.  


Justin Quinell uses many different aesthetics in his photographs like muted colour, change of light, under developed pictures, black and white pictures, a small scale, point of view, in this picture Quinell also uses vignetting. I feel that vignetting makes this picture have a 3D fish eye effect.  


I have chosen to look at each of these pieces of work because these are taken from 3 of 4 of each of his galleries (black & white, mouthpiece and slow light). My first reaction to his work was that its unique, creative, inverted, sharp, handmade, expressive, weird, strange and that he has no limits. I really like Quinells work because it contemporary, different and focused around everyday photography. His work has inspired me to try to incorporate aspects of his work into my shots when I am taking my pinhole photographs. 

Pinhole Moodboard


Monday, 17 September 2012

How to make a pinhole camera.


Get yourself an empty tin E.g. a hot chocolate tin, some black paint and a paintbrush. Then paint the inside of your tin and your lid black.


For this next part you need scissors, a scalpel, a pin, a permanent marker, sandpaper, black electrical tape, a ruler and a foil baking tray. Once you have got these, with the scalpel you then need to cut a 2cm by 2cm square 6cm up from the bottom of your tin. 


You then need to cut a square twice the size of your square hole in you tin out of the foil baking tray. Once you have cut this square you then need to get your pin and pierce a hole in the middle of your foil. after piercing your hole, you then need to sand one side of the foil down and colour the it in with the black permanent marker (make sure there are no shiny bits showing).

 
For this last part you need to place the piece of foil over the square (make sure the black side is facing the inside of the tin). With the black electrical tape you need to stick down each side of the foil. Finally you need to create a small flap with the tape to cover the pin hole, do this by cutting a piece of tape that will cover the piece of foil and fold over the end of the tape so that you can peel it back.

Once you have done this you are ready to go.